Category: Other
Problem: Call processes are not starting on my job posting
Solution: Three causes may explain this:
- The campaign is paused → reactivate it from your job
- You have no more credits → contact support
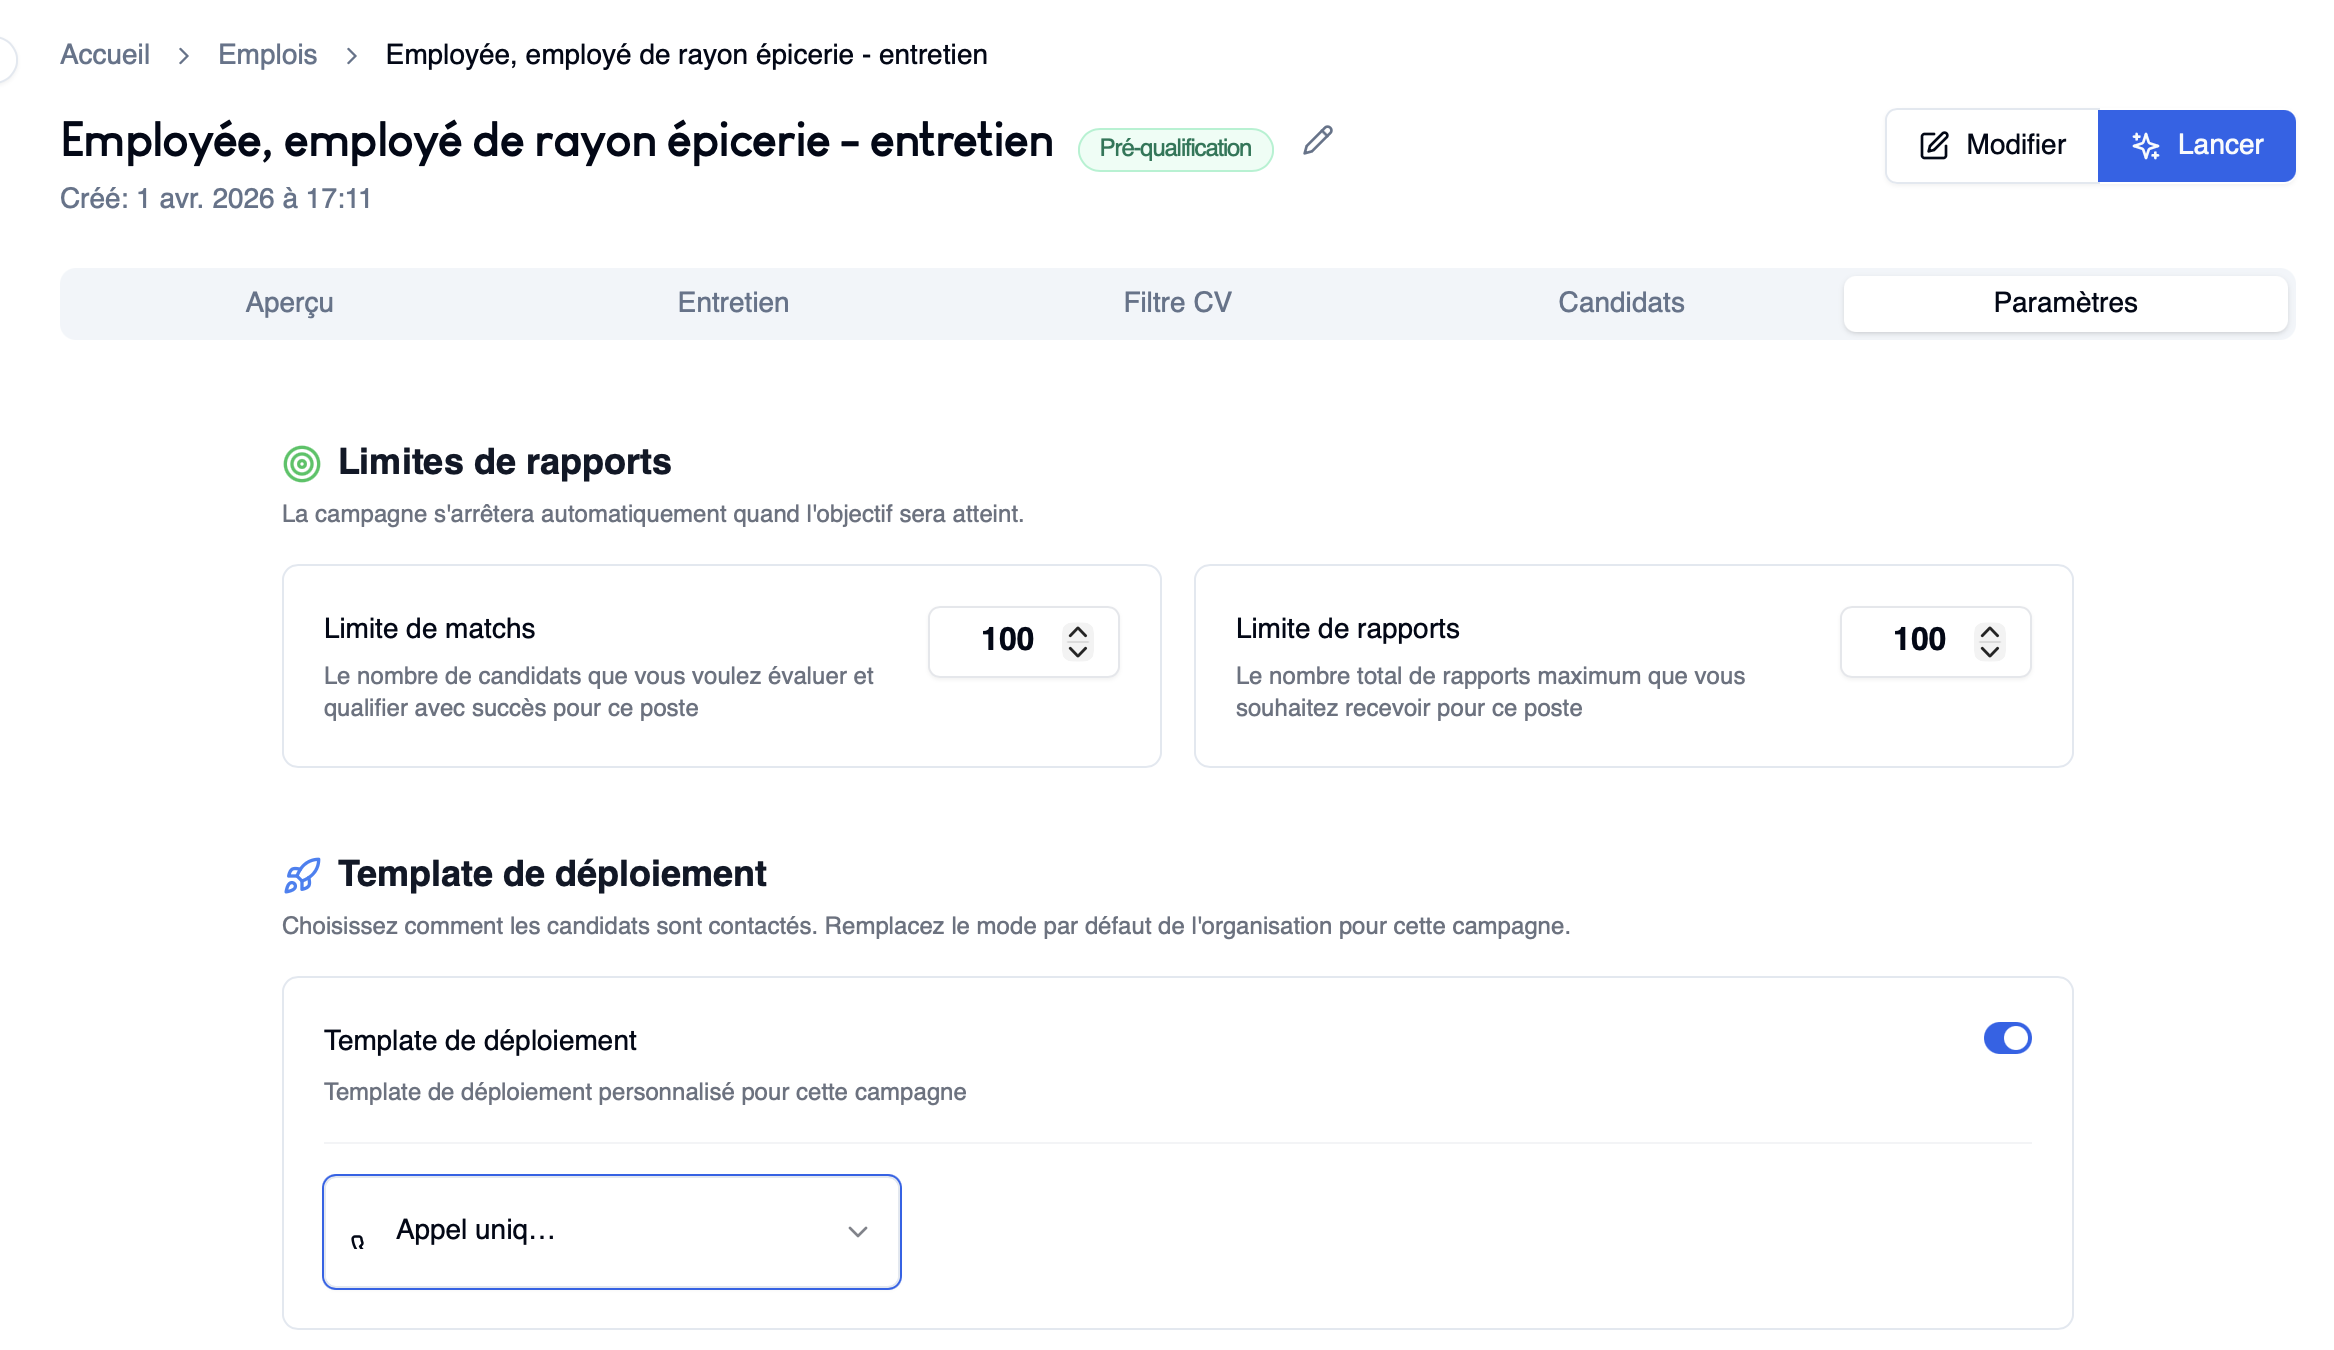
- You have reached a match or report limit → the maximum number of recommended or contacted candidates has been reached, which automatically stops the campaign
👉 Solution: Increase these limits in the job settings to restart the campaign.


Problem: My campaign stopped on its own
Solution: This is generally due to reaching a limit:
- Match limit reached
- Report limit reached
👉 Once this limit is reached, the campaign stops automatically.
👉 Solution: Increase these limits in settings to restart the campaign.

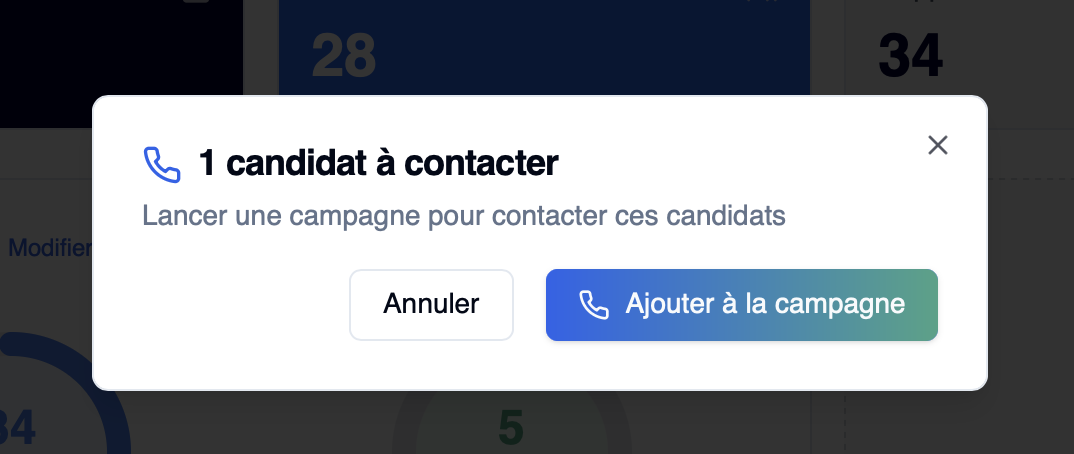
Problem: I see a yellow banner saying "X candidates to contact"
Solution: This message means some candidates have not yet been added to an active campaign.

👉 To process them:
- Click on the yellow banner
- Click "Add to a campaign"
- Select the desired campaign
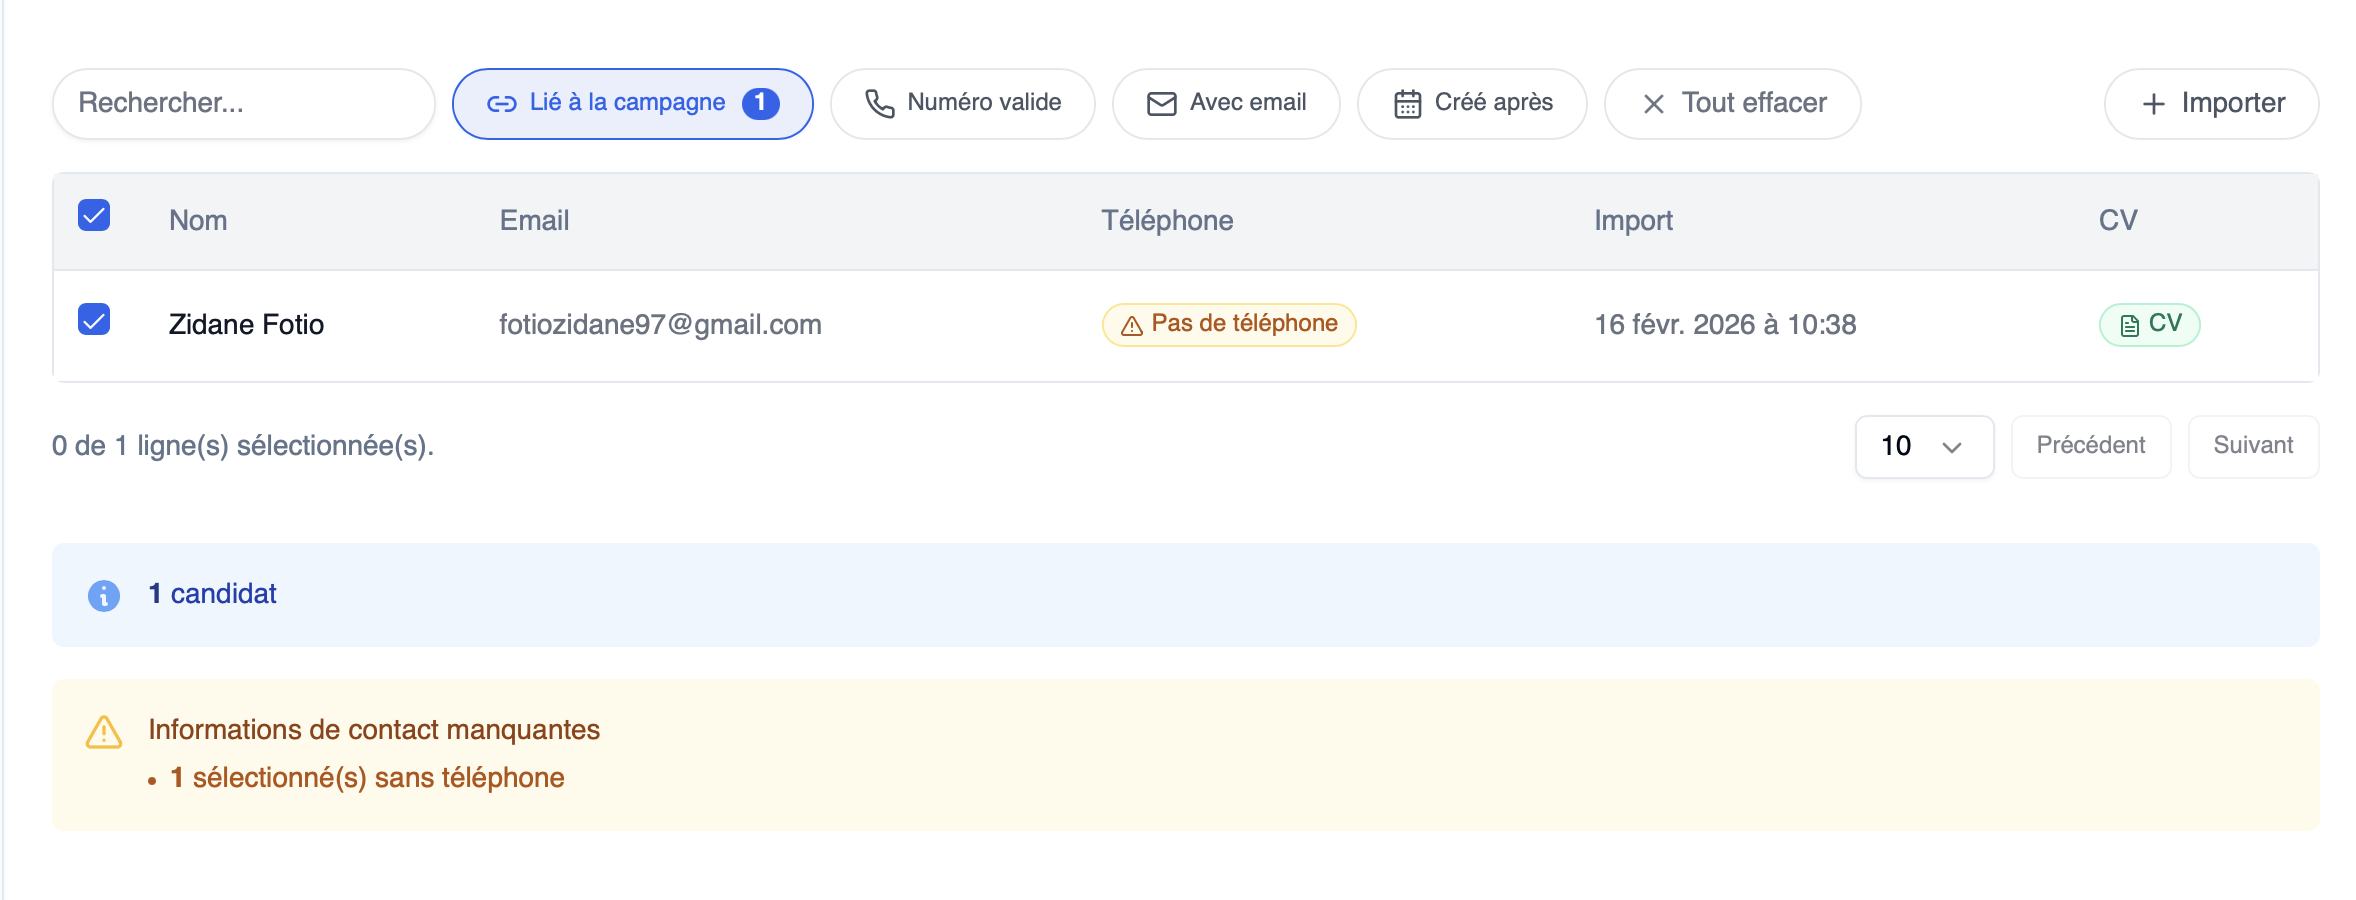
You will then find these candidates in your campaign and can restart a deployment mode.
⚠️ Some candidates may not have a phone number. In that case, calls and SMS cannot be used — you will need to use other channels such as email.
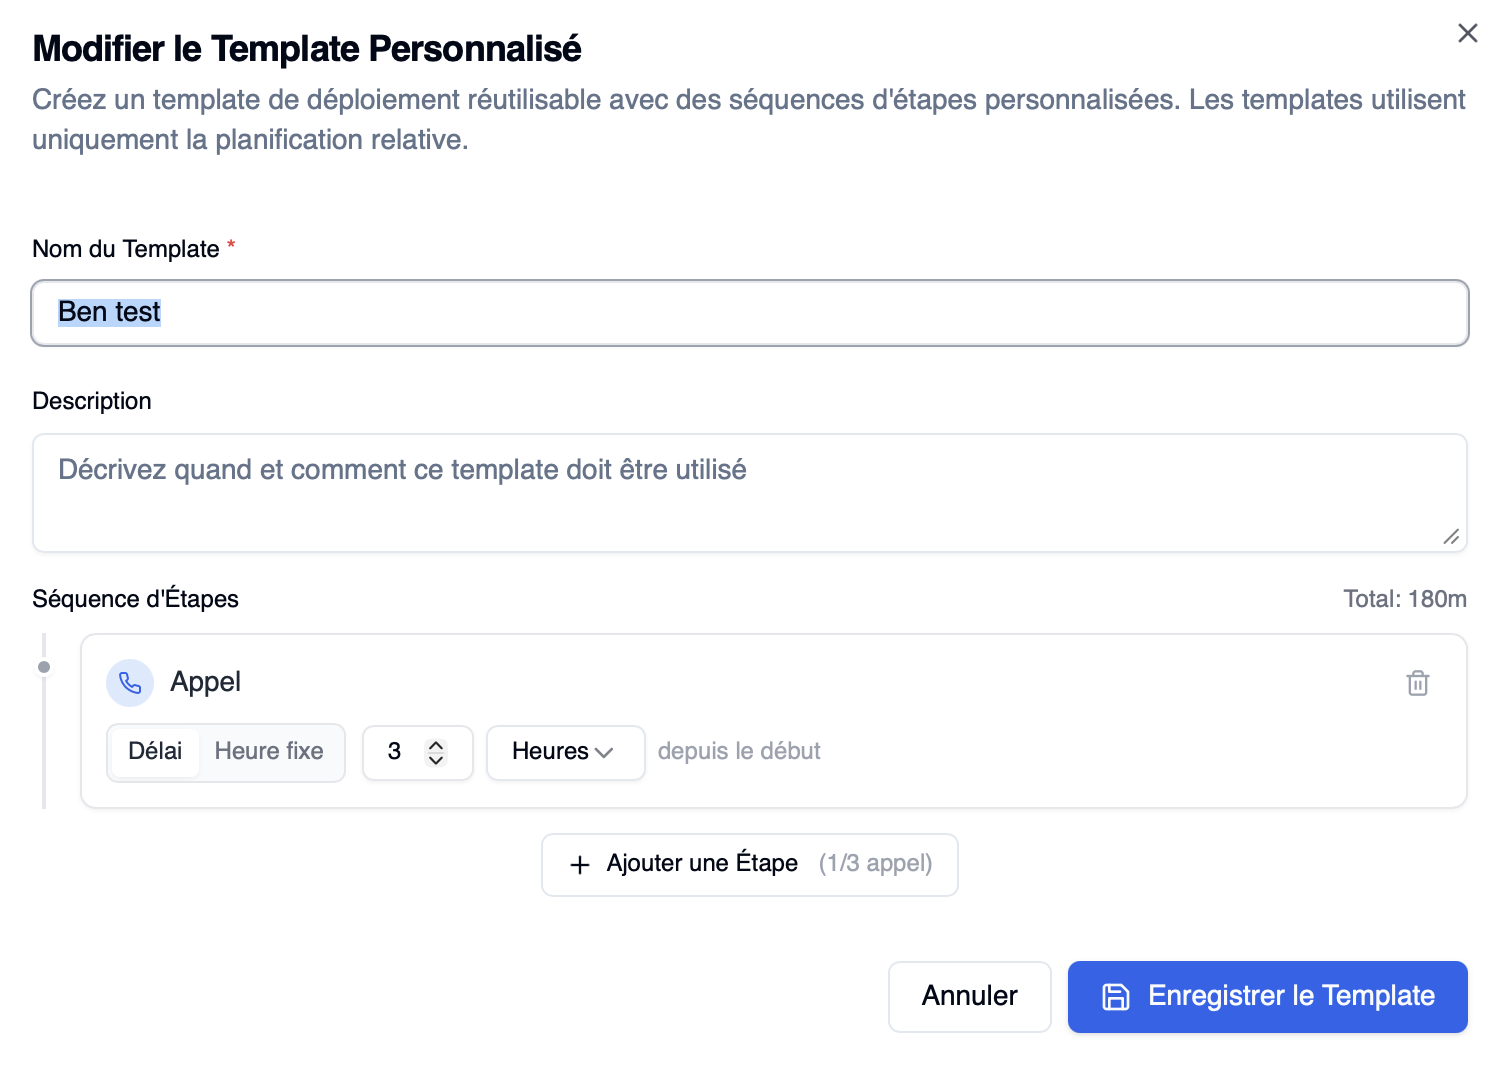
Problem: I don't know how to change my deployment mode
Solution: To change the deployment mode:
- Go to the job settings
- Click on Deployment template
- Select the desired template
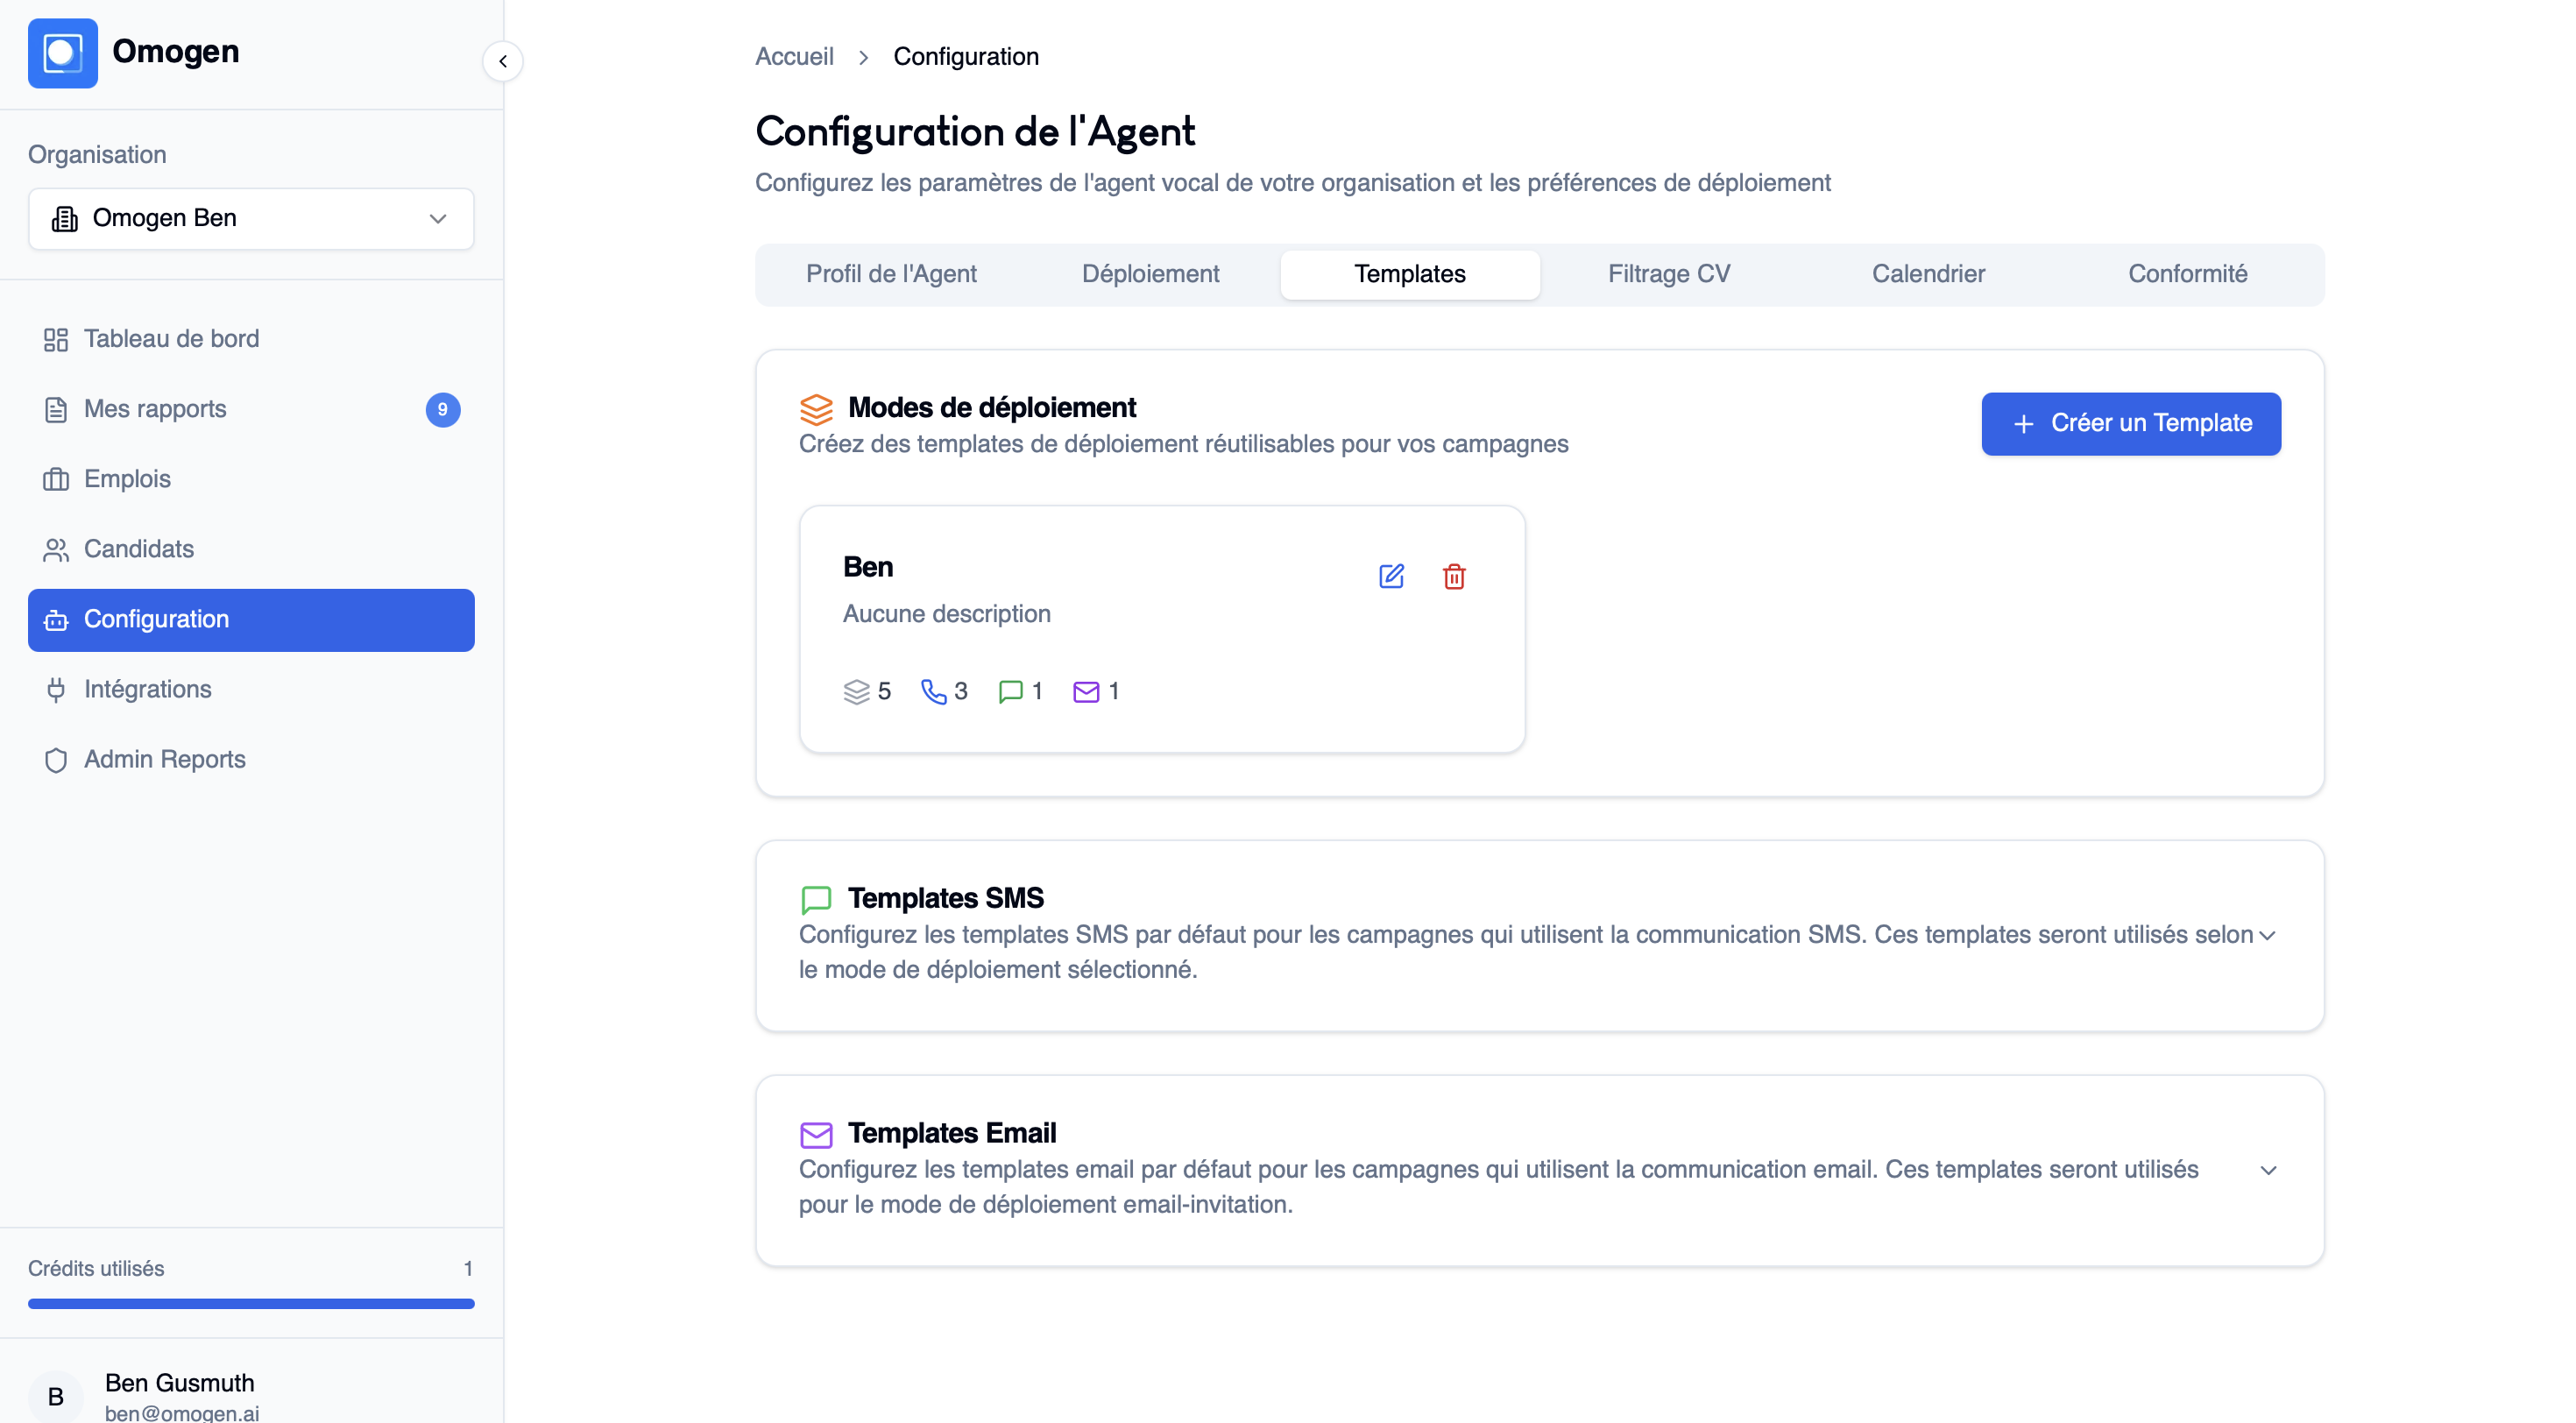
👉 You can also create your own template in the Configuration → Template tab.
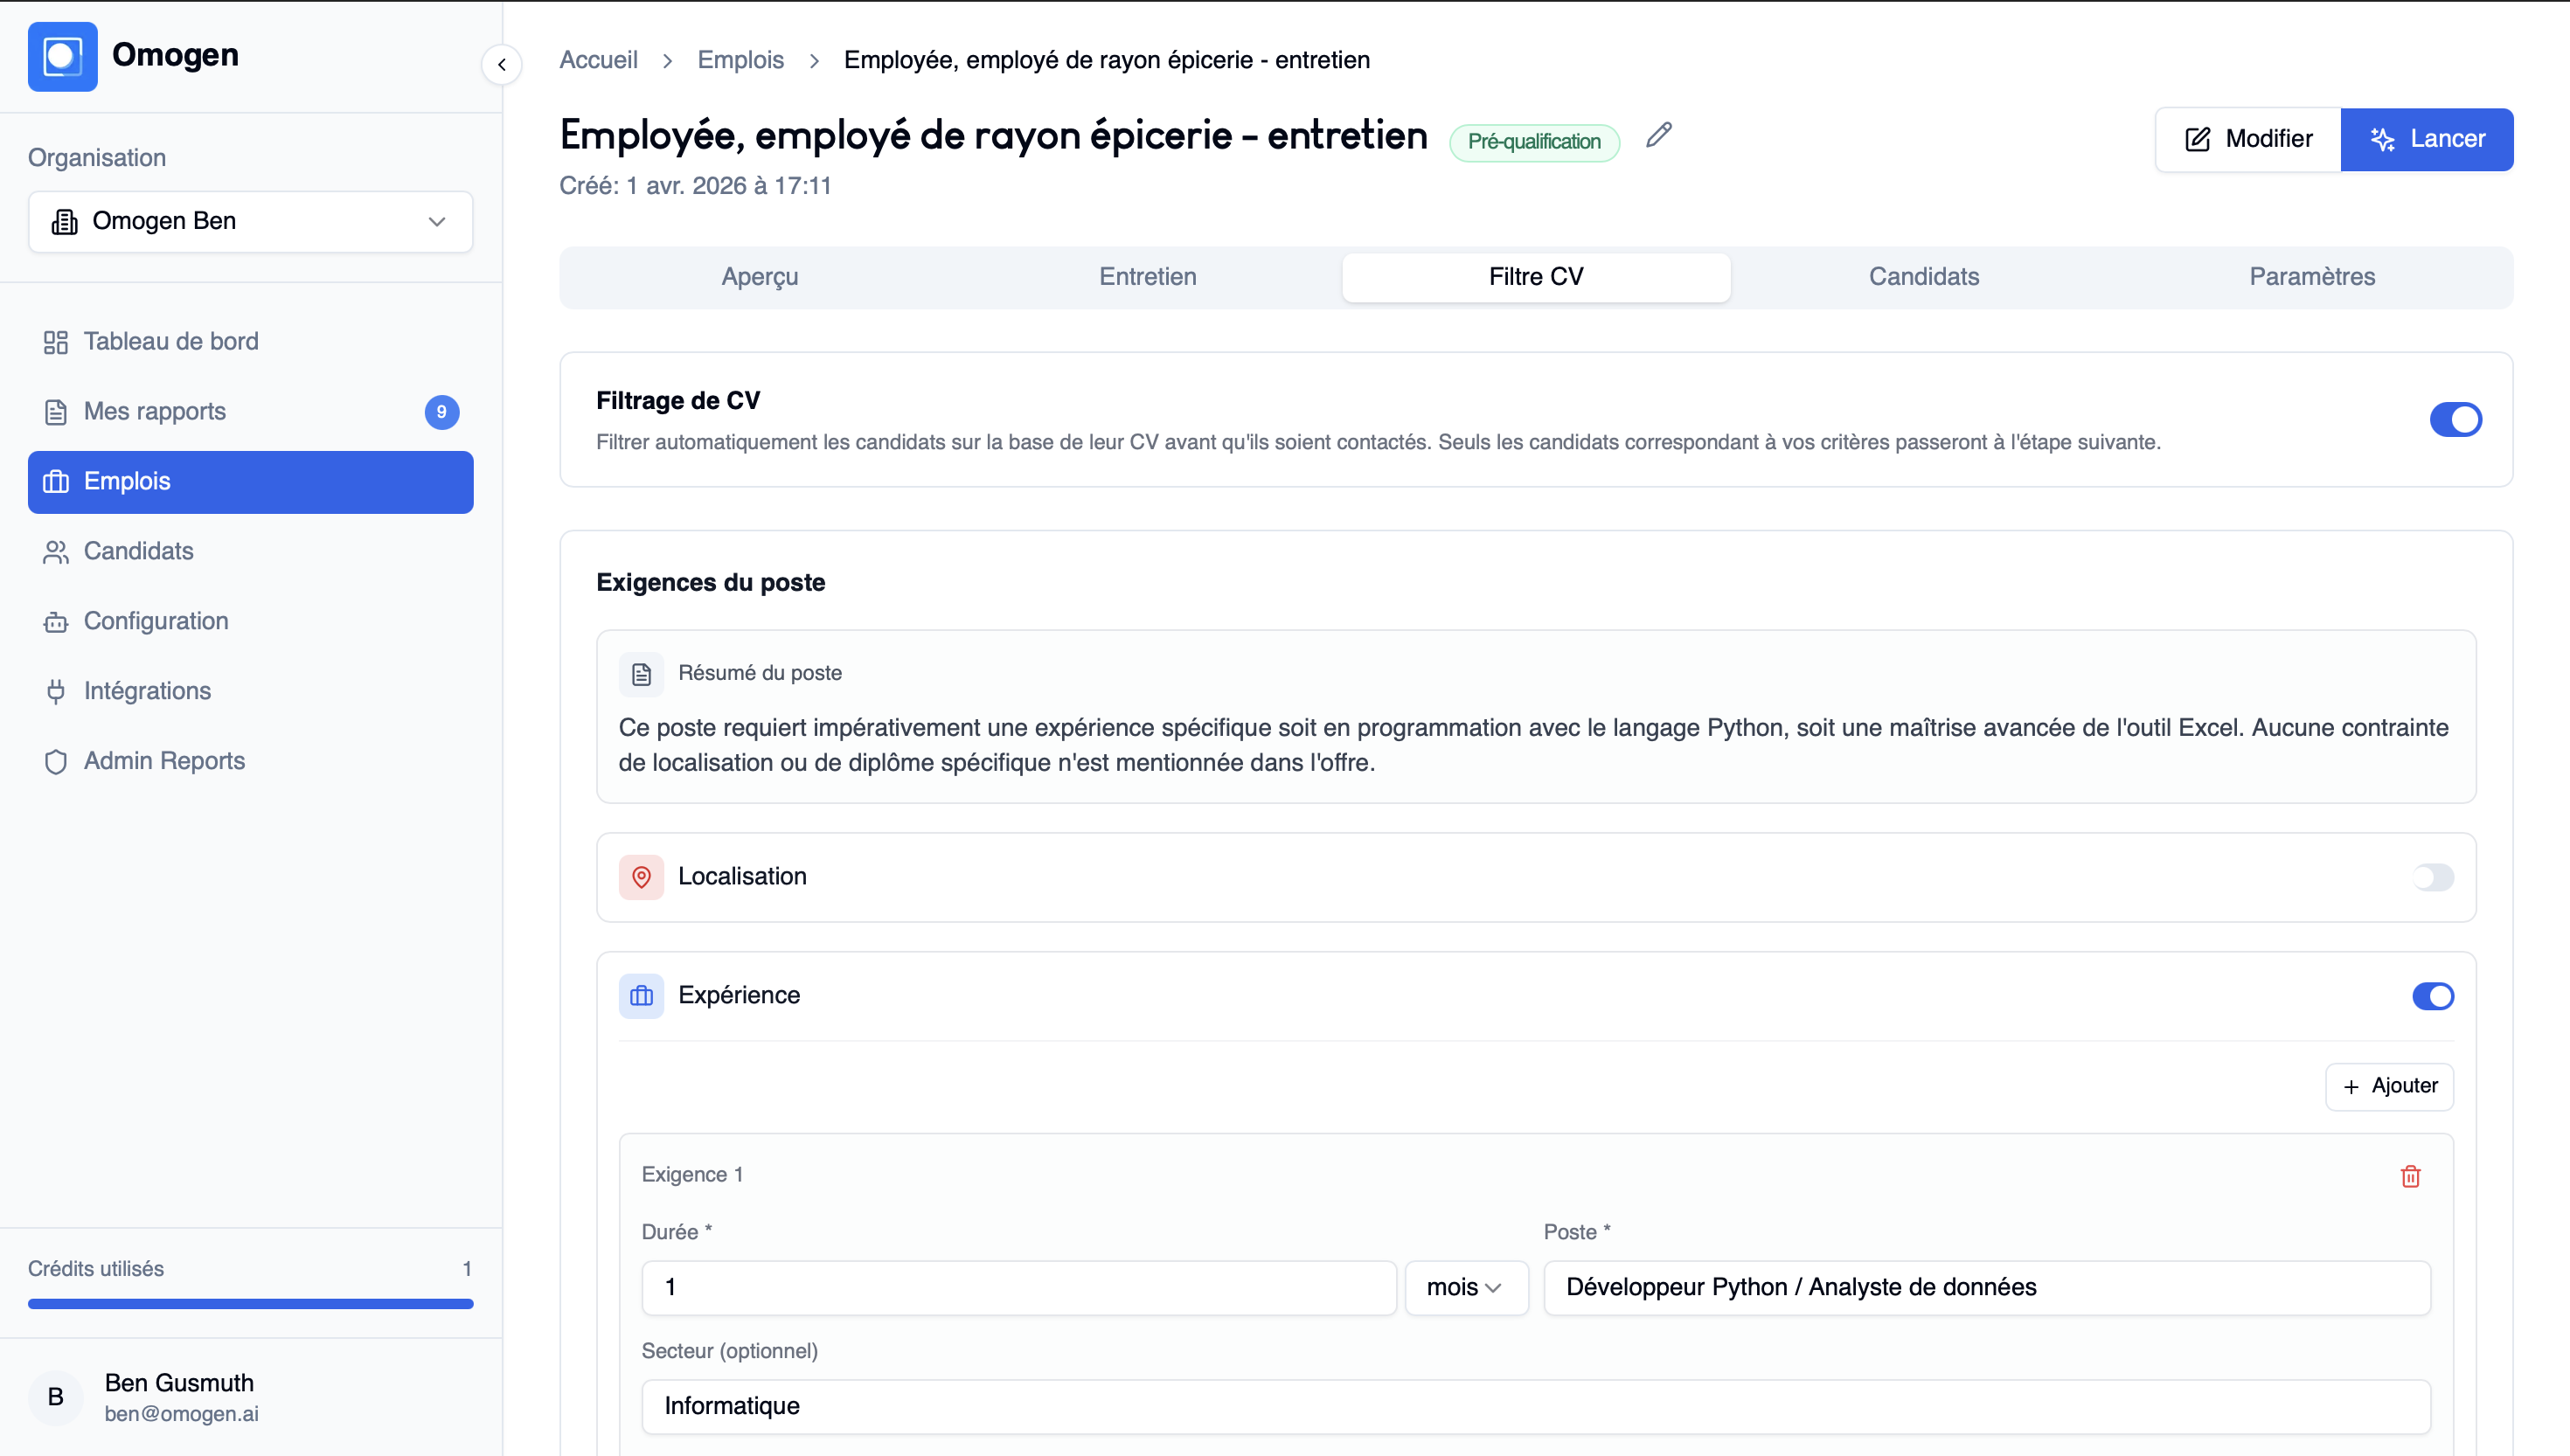
Problem: I don't know how to modify CV filters on a campaign
Solution: To modify the filters:
- Go to the job
- Then to CV Filtering
- Adjust the criteria to your needs
Problem: I want to activate automatic messages for candidates
Solution: To activate follow-up messages:
- Go to Settings
- Then to Deployment → Follow-up message
- Enable automatic sending (SMS or email)
You can define:
- The type of candidate concerned (match or those with a scheduled appointment)
- The sending delay
- The message type (email or SMS)
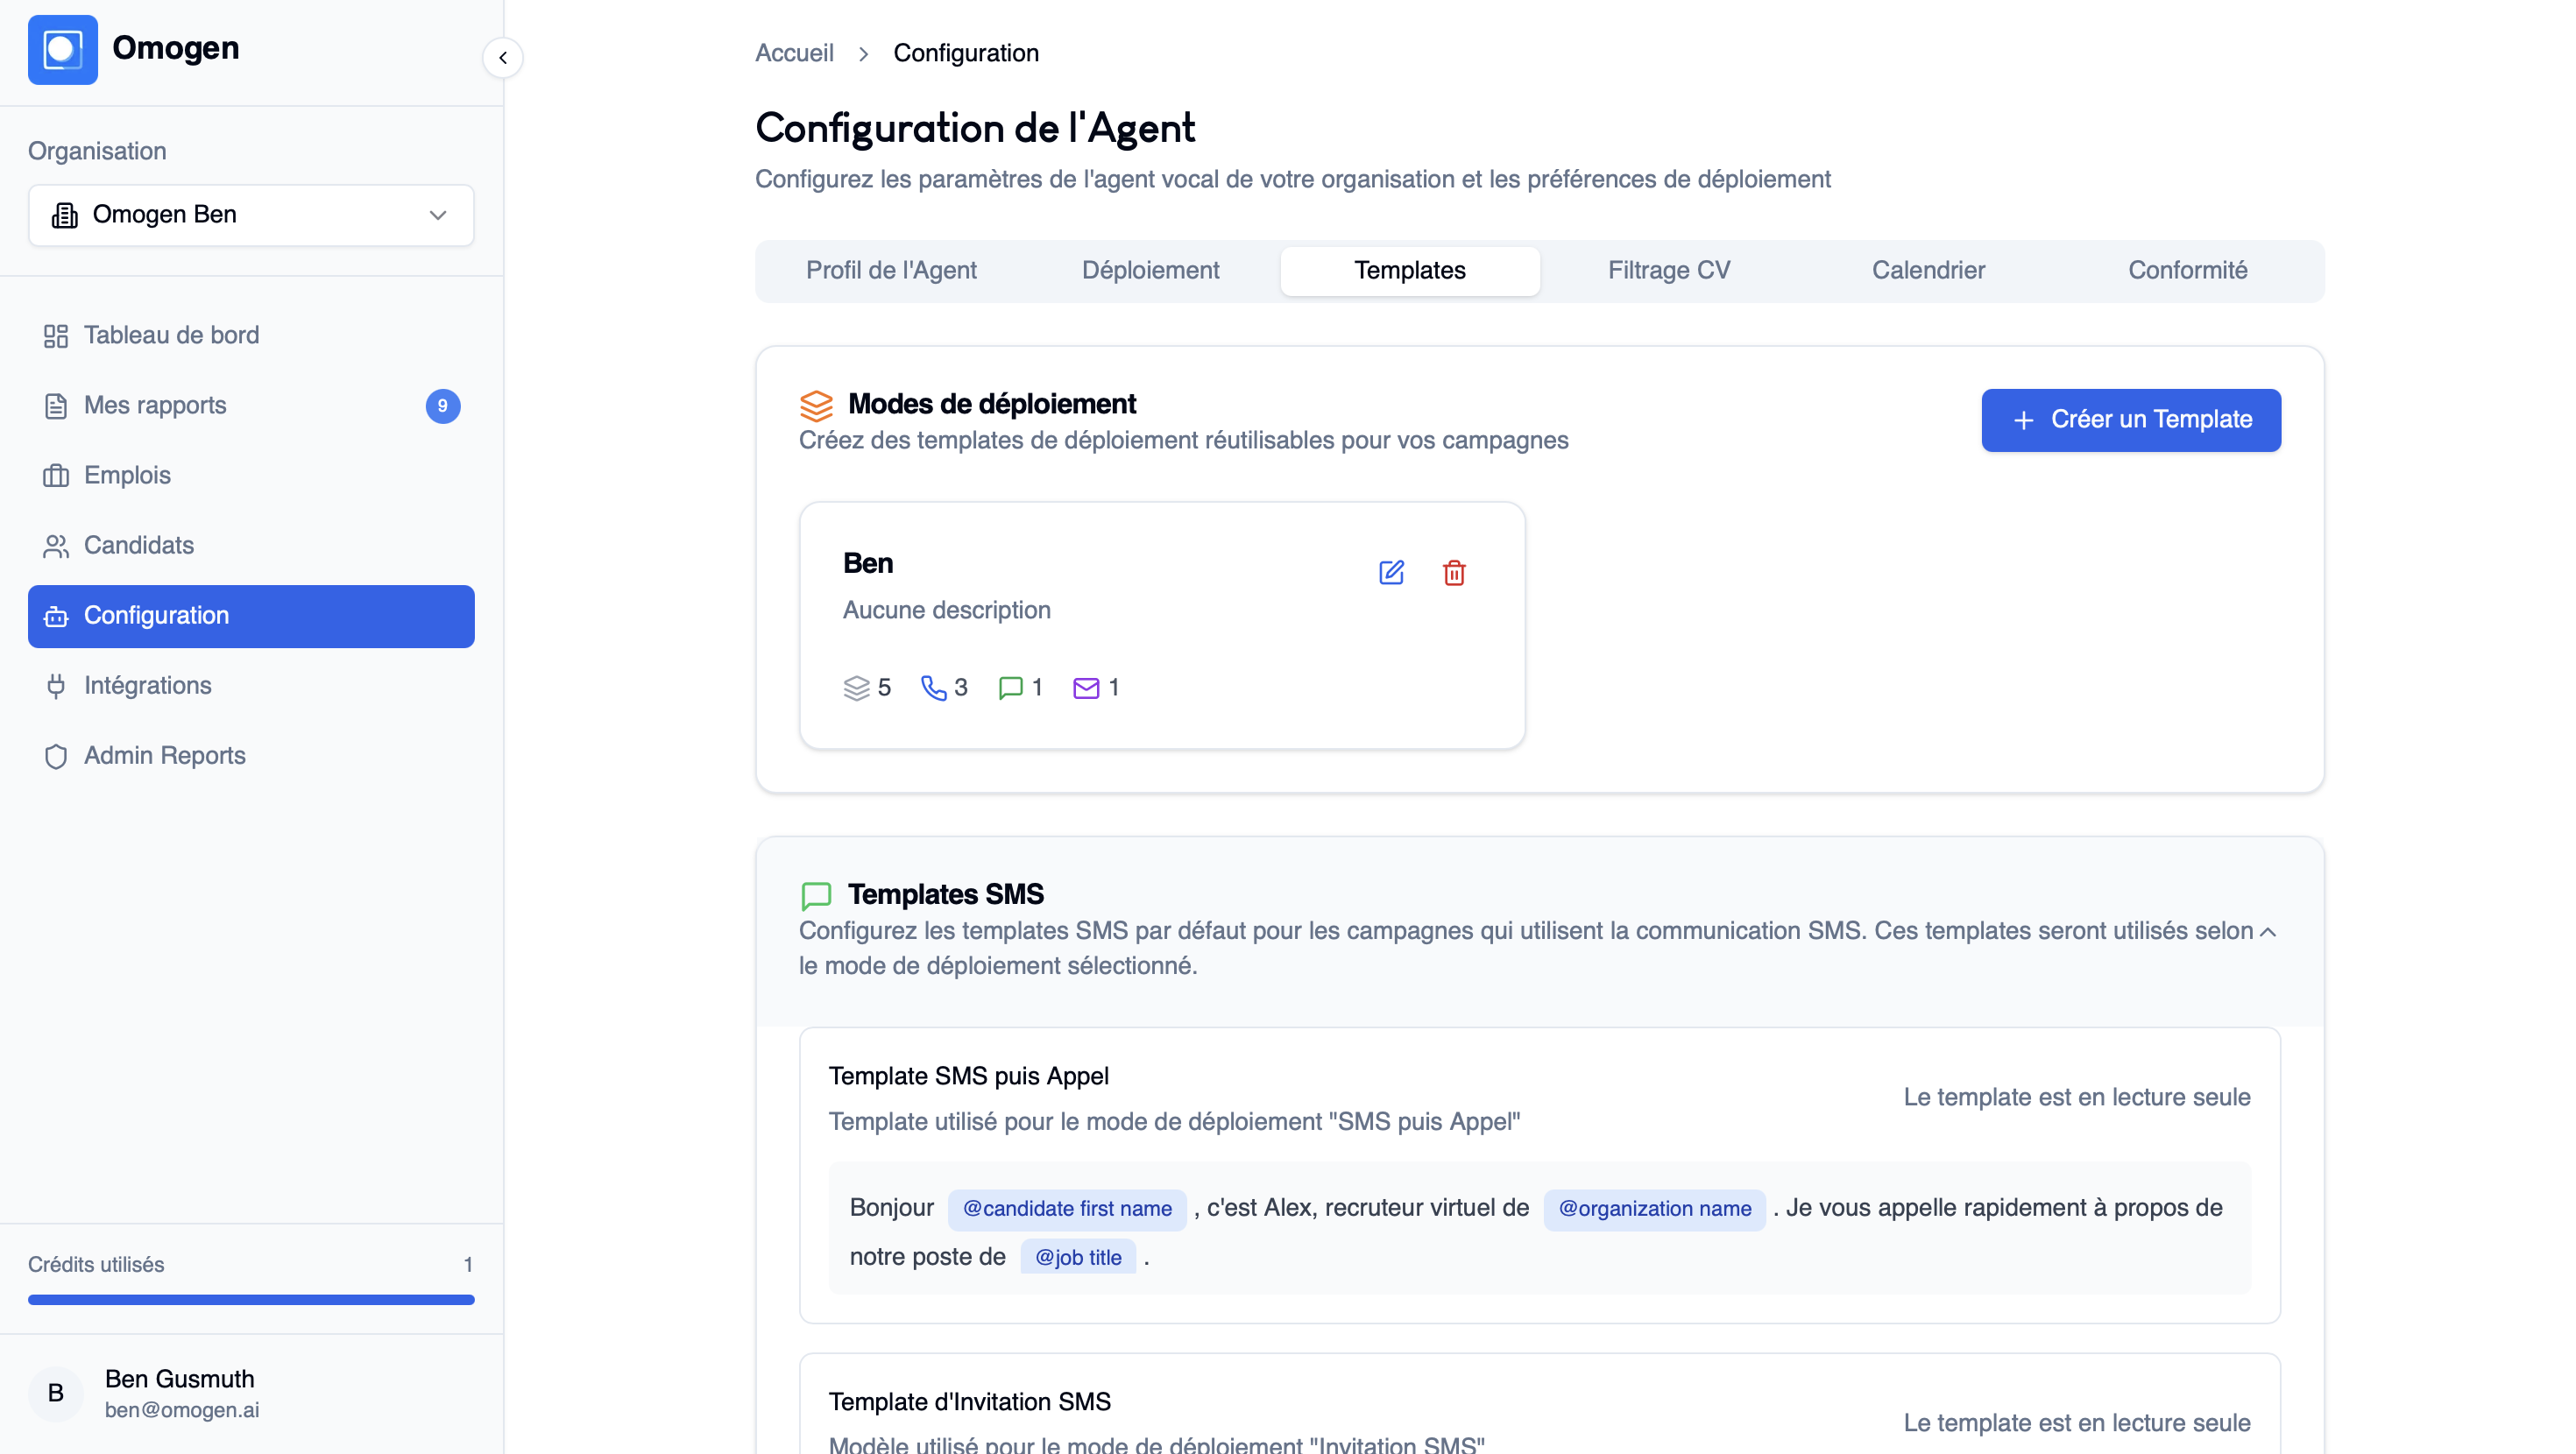
Problem: I want to modify the content of messages sent to candidates
Solution: To view the messages:
- Go to Configuration
- Then to Templates → SMS Template
You can see the messages sent to candidates.
👉 To modify them, contact support.
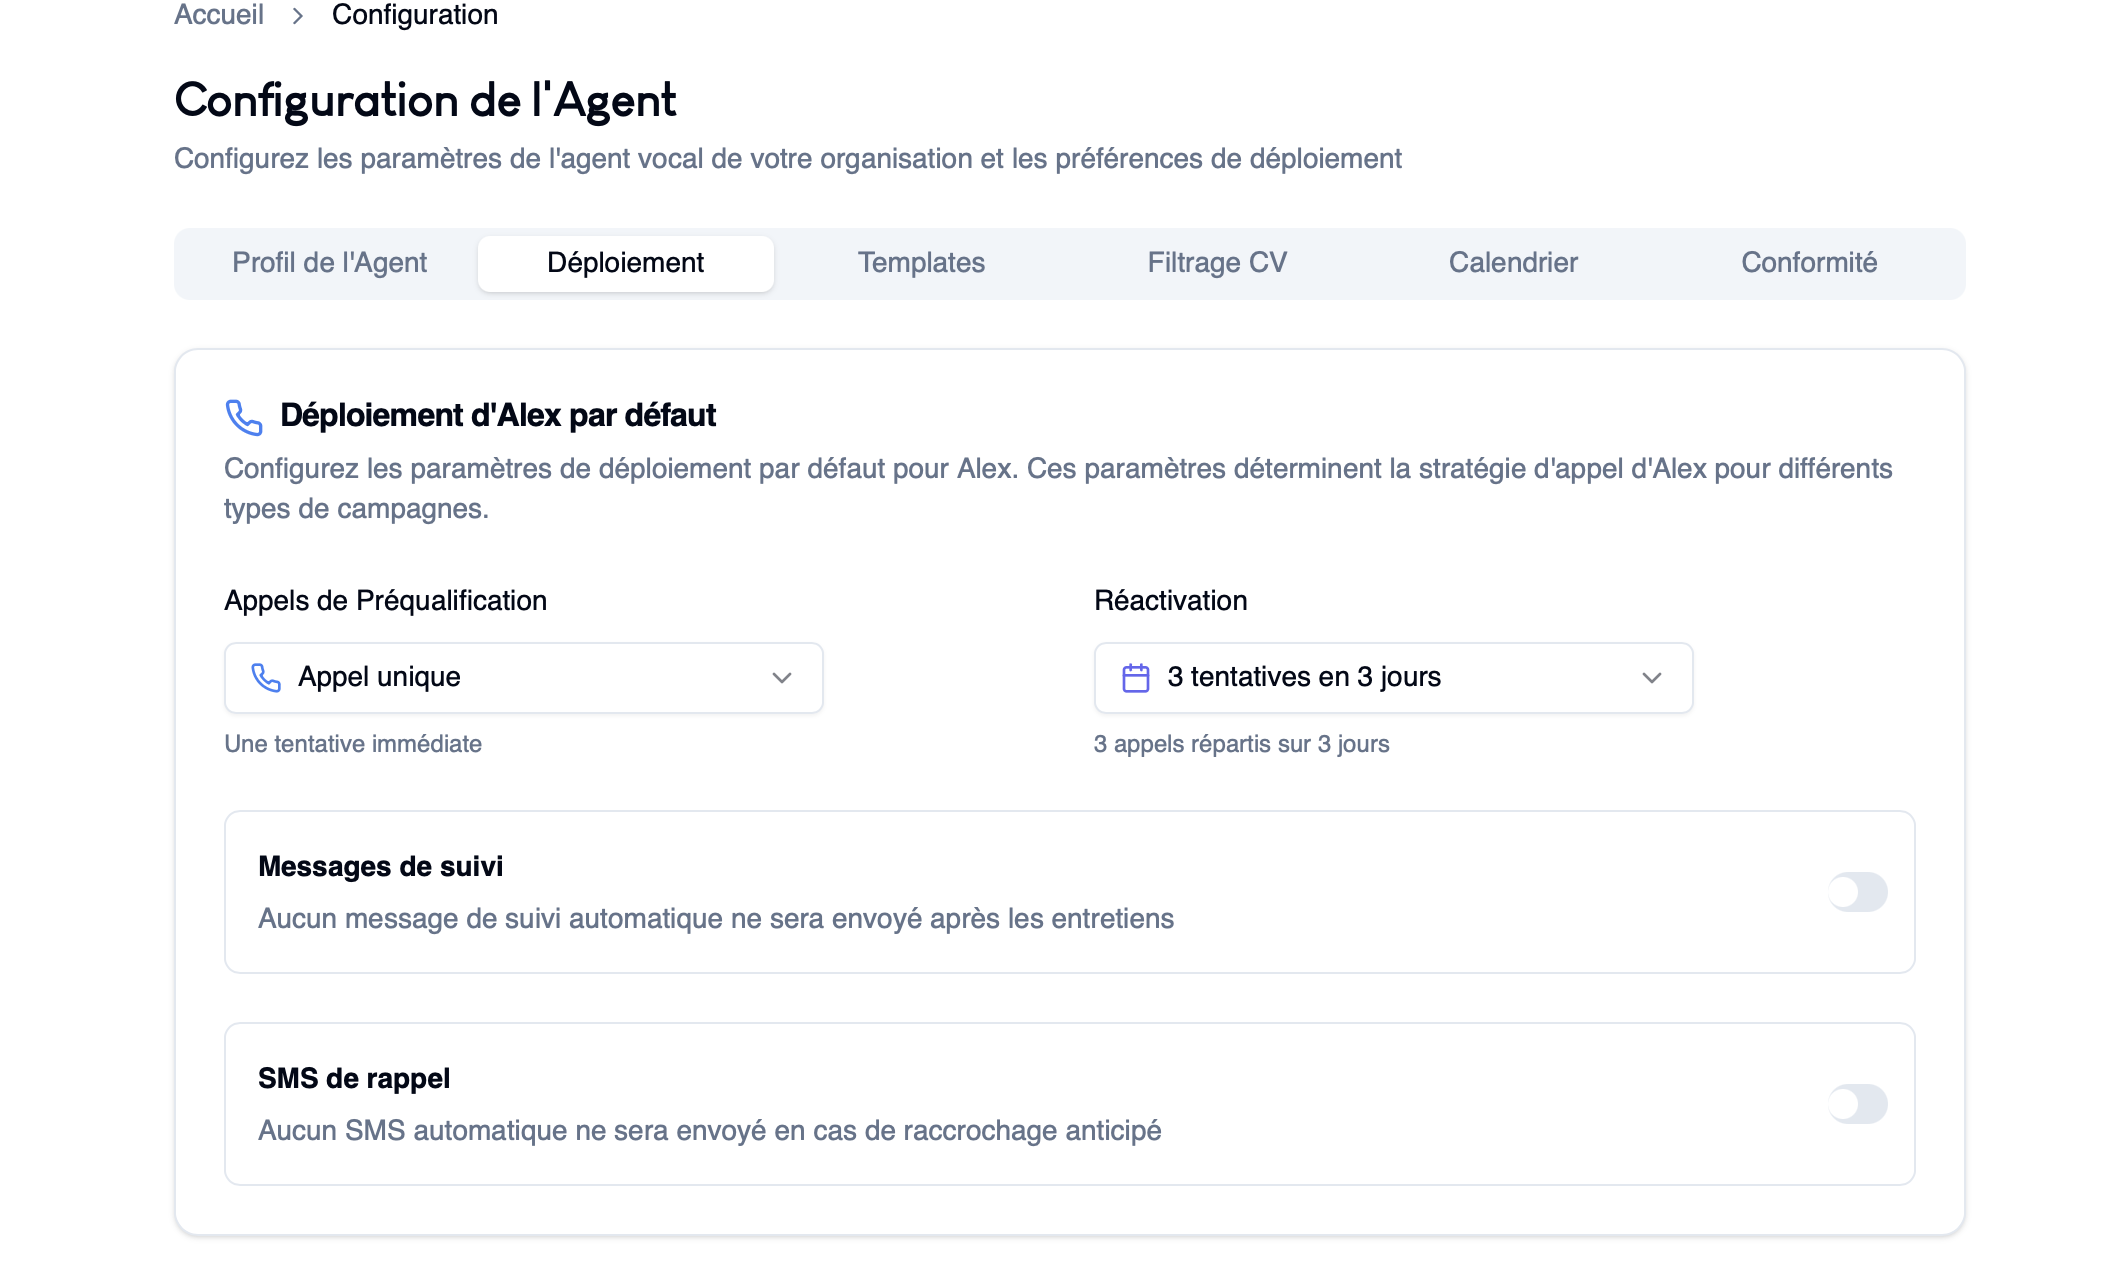
Problem: Candidates are not called immediately
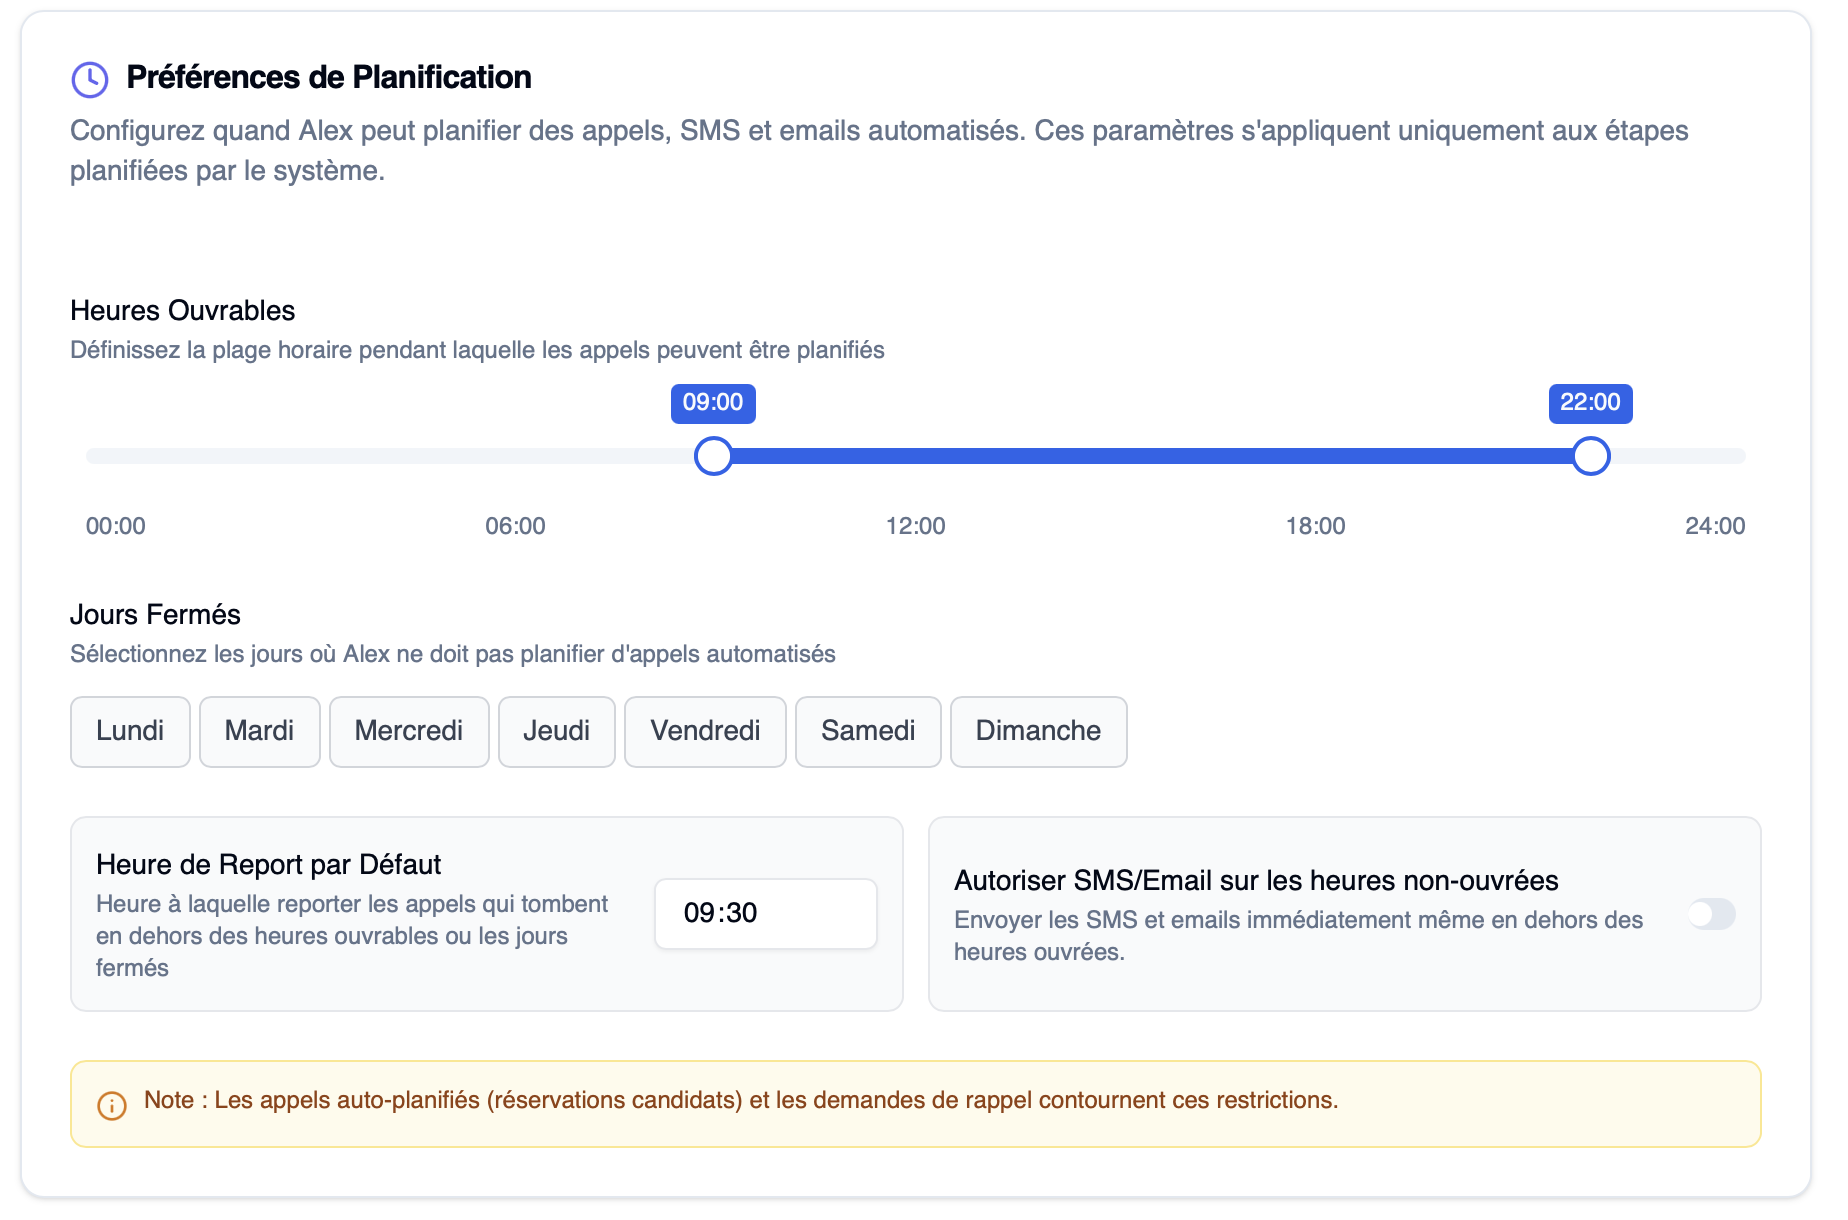
Solution: This is generally related to your scheduling preferences.
👉 Check in Configuration → Deployment → Scheduling Preferences:
- Business hours
- Closed days
👉 Two possible cases:
- We are outside the authorized hours
- The deployment mode schedules a delayed call

Problem: I want to prevent calls at certain times
Solution: Go to Configuration → Deployment → Scheduling Preferences. You can define business hours and closed days. Alex will not call outside these windows.
💡 Candidates can still call Alex at any time, 24/7.
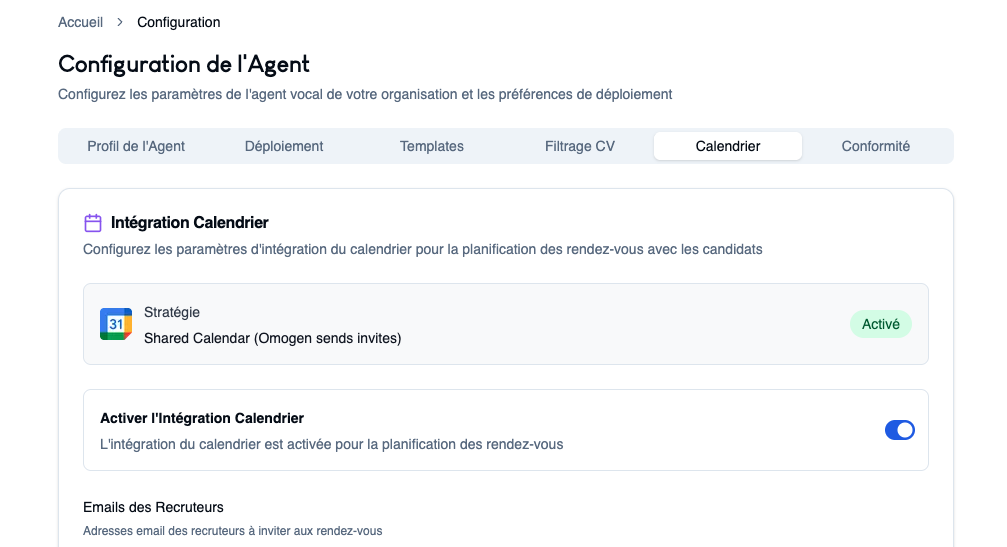
Problem: I want to add a calendar to schedule appointments
Solution: Calendar integration requires specific authorization.
👉 Contact support to set up this feature.
Problem: I want to modify consent or consent emails before calls
Solution: Go to Configuration → Compliance. You can adjust:
- Live consent
- Consent email sending
⚠️ By default, these settings are enabled to comply with GDPR and the AI Act.

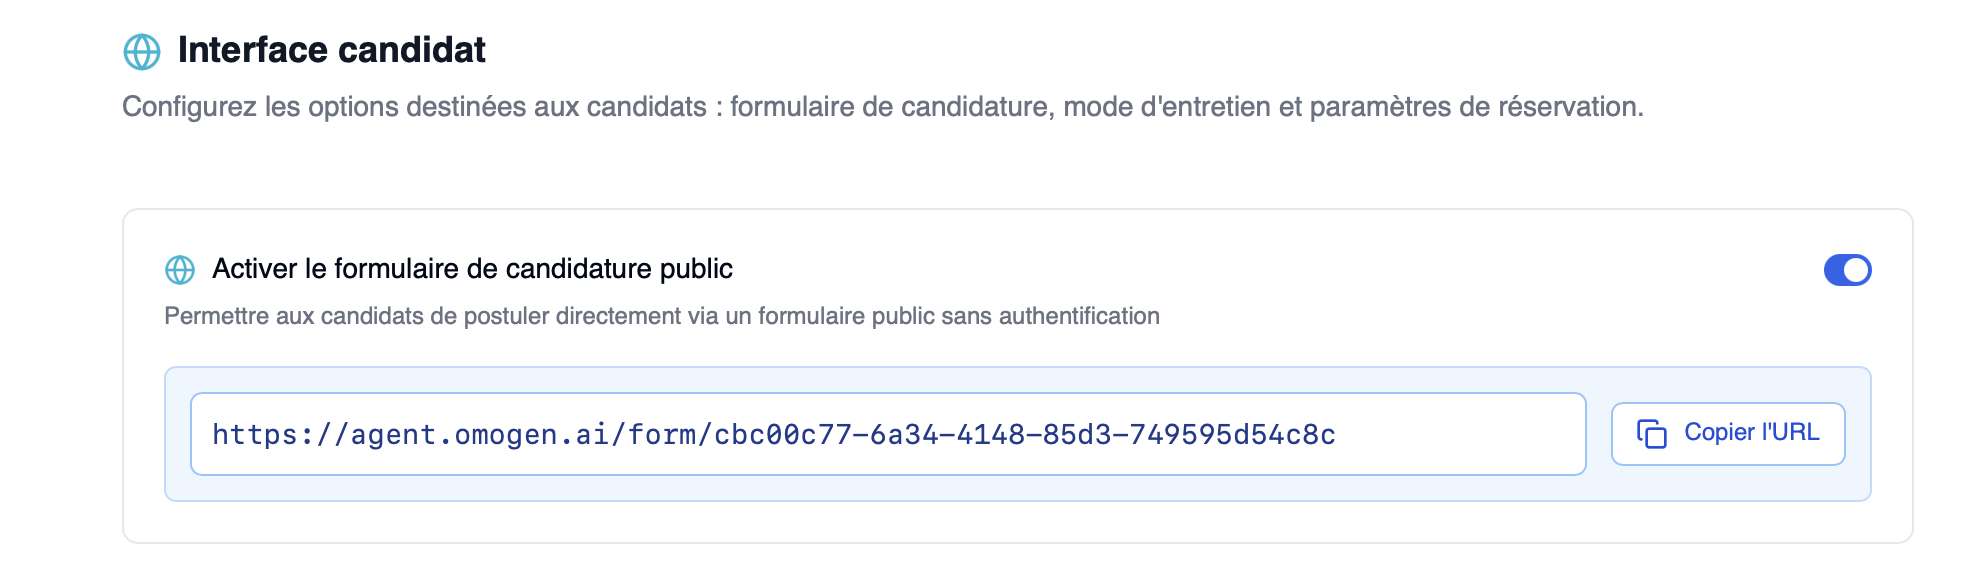
Problem: I want to activate an online application form
Solution: To activate a public job posting:
- Go to your job
- Then to Settings
- Scroll down to Candidate interface
- Enable the application form
👉 You can then copy the URL and share it online.
Last updated: 2026-04-02